Today I was experimenting with the push notification for iOS devices. Unlike android, which make use of Google Cloud Messaging, APN is based on persistent sockets and the sender needs to limit the number of connections being established and torn down. This typically means that the sender cannot simply establish separate connections for each send request, but rather needs to reuse established connections or use connection pooling.
To send a push notification to an iOS device we need a few things.
- Apple iOS program membership.
- Simple iOS client app to receive the notifications.
- A Java application which sends the notification. (Server)
- Device to test. (Simulator doesn’t help)
Okay, so first we need to login to apple developer site > Member Center > Certificates, Identifiers & Profiles. Under iOS section, choose Identifiers. Create a new App ID for your application by making use of + (plus) button.
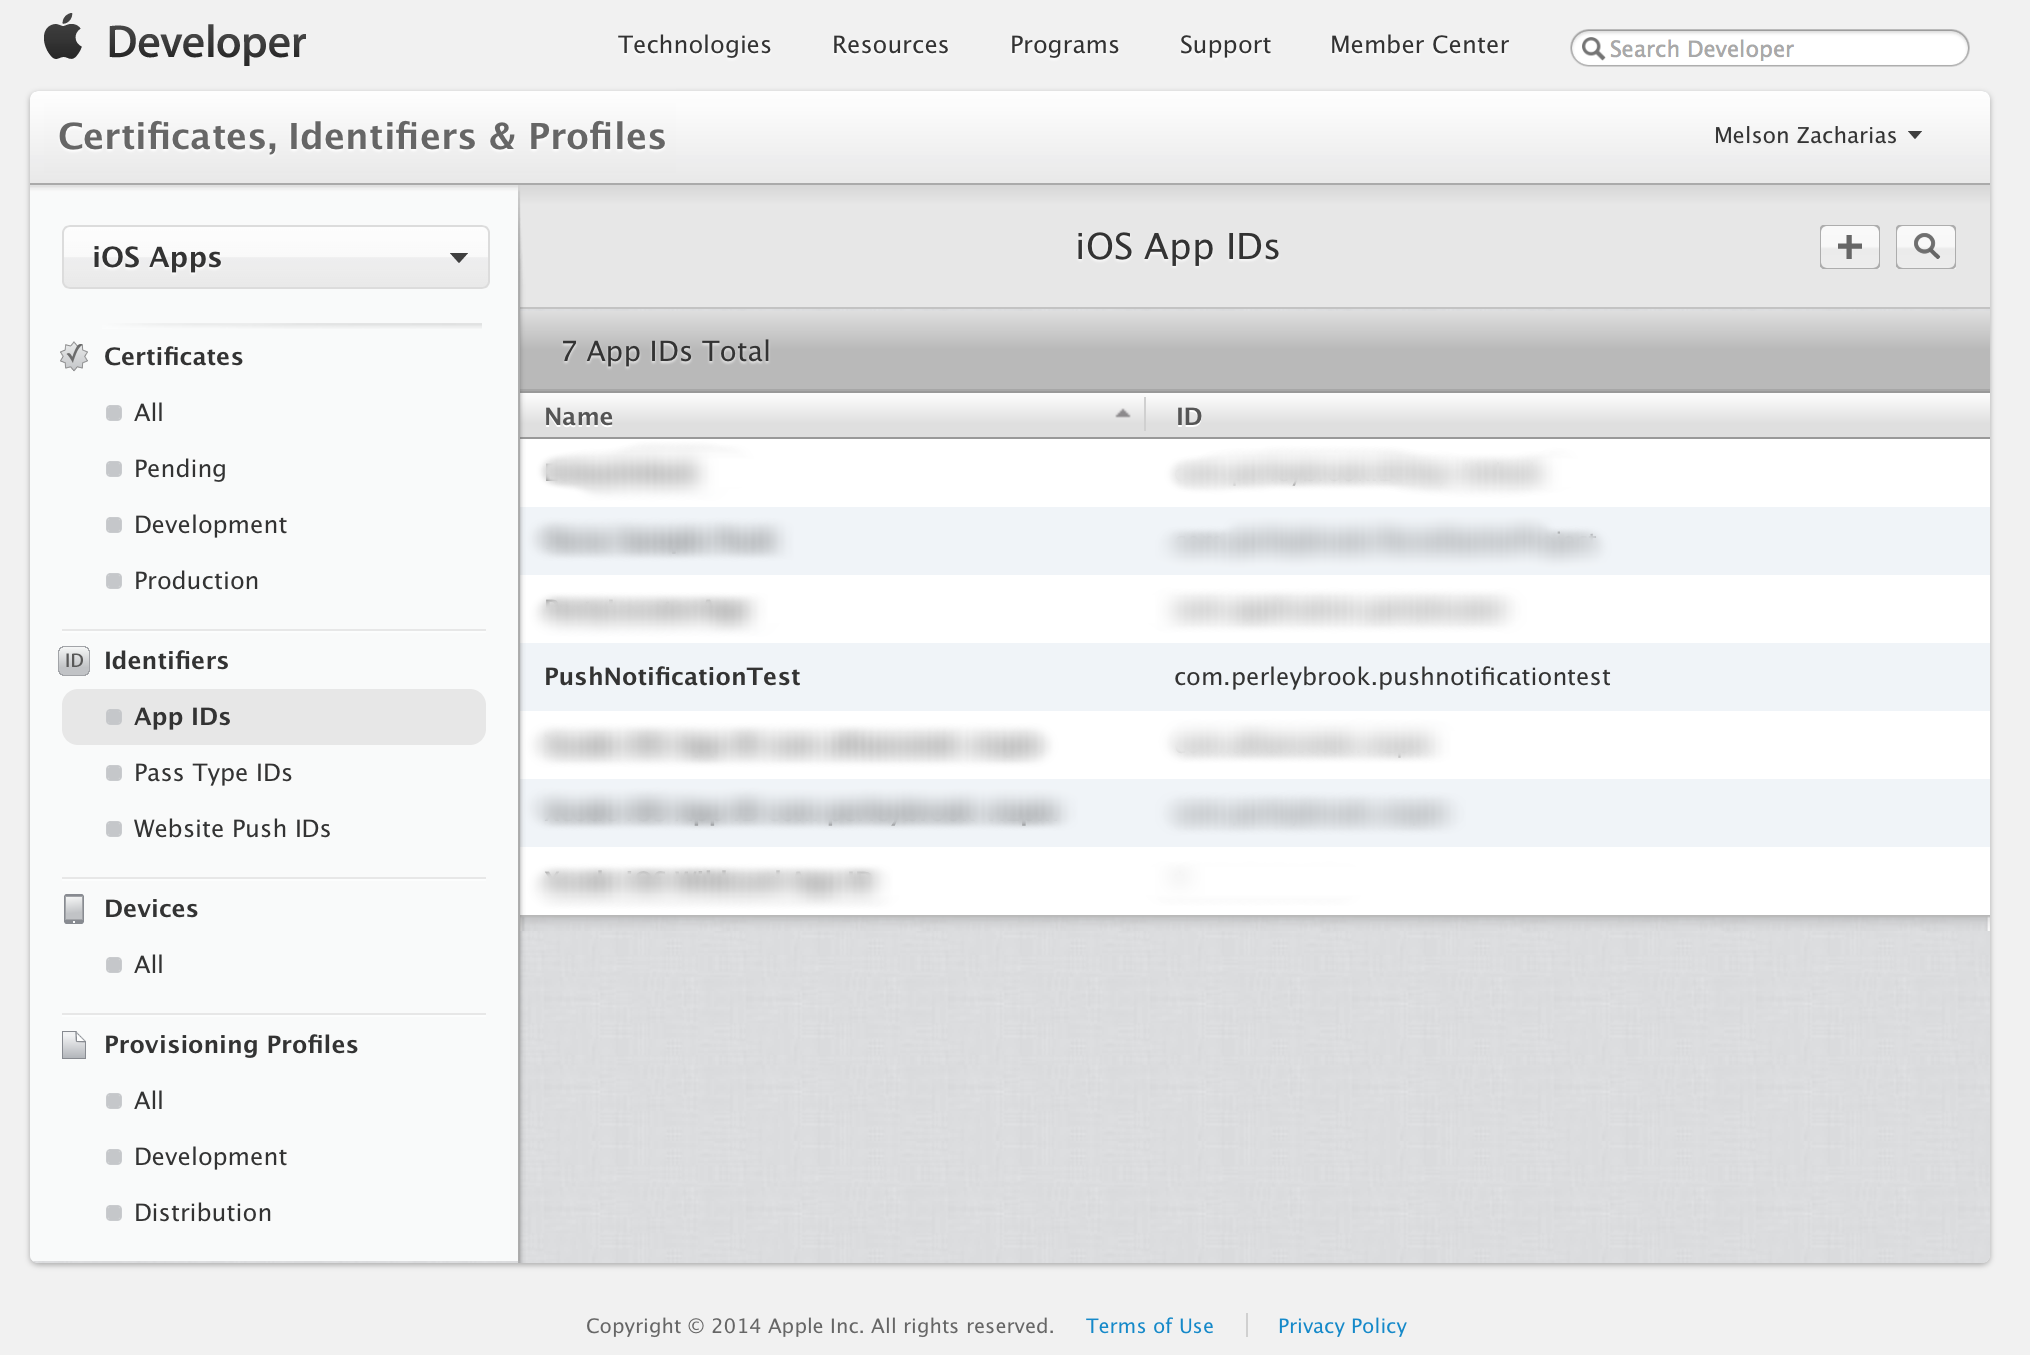
Provide the name of your application, Bundle ID (the explicit app ID section) of your xcode project that you will be writing soon (com.perleybrook.PushNotificationTest in my case) Make sure you check the Push Notification in app service section. And you are done creating App ID.

Next we need to create certificate to be used in server for push notification. Use Certificate Assistant from Keychain Access to Request (not create a) a certificate from certification authority. Enter your mail ID (apple id), Name for the certificate, and choose save to disc option. Continue the process and save the .CSR file to your mac. Go to the certificate section of apple developer site > Member Center > Certificates, Identifiers & Profiles. Add a new certificate for Apple Push Notification service SSL (Sandbox) Select the app ID you created earlier. Continue and upload the .CSR file you just created. Generate the certificate and save it to your mac. Open the downloaded .p12 file to add it your keychain.
Now what remains is the server and client.
Server
Download APNS Library and its dependencies.
Launch eclipse create a new project say, PushServiceServer. Add these jars into the build path of the project. (Right click on project> Properties >Java Build Path> Libraries >Add External jars)
create PushServiceServer.java with following code:
import com.notnoop.apns.*;


public class PushServiceServer {
    ApnsService pushService = APNS.newService()
	        .withCert("certificate", "passwordUsedForGeneration")
	        .withSandboxDestination()
	        .build();
            void notify(String message){
                String payload = APNS.newPayload().alertBody(message).build();
                String token = "device token";
                pushService.push(token, payload);
            }
            public static void main(String[] args){
                PushServiceServer object = new PushServiceServer();
                object.notify("Notify my iPhone!");
            }
        }
Client
Launch Xcode and create an iOS application with same App ID registered in the site (for me, com.perleybrook.PushNotificationTest).
Modify - (BOOL)application:(UIApplication *)application didFinishLaunchingWithOptions:(NSDictionary *)launchOptions to
- (BOOL)application:(UIApplication *)application didFinishLaunchingWithOptions:(NSDictionary *)launchOptions{
    // Override point for customization after application launch.
    [[UIApplication sharedApplication] registerForRemoteNotificationTypes:(UIRemoteNotificationTypeAlert | UIRemoteNotificationTypeBadge |UIRemoteNotificationTypeSound)];
    return YES;
}
Add following two methods:
- (void)application:(UIApplication *)app didRegisterForRemoteNotificationsWithDeviceToken:(NSData *)deviceToken {
    NSLog(@"devToken=%@",deviceToken);
}

- (void)application:(UIApplication *)app didFailToRegisterForRemoteNotificationsWithError:(NSError *)err {
    NSLog(@"Error in registration. Error: %@", err);
}
Install the provisional certificate in your device, run the project. Note the device token Change it in java code. Make sure your device is connected to internet, run the java code.
Cheers! You now have a Push notification server. :)